1) Printing a report with multiple tabs has changed. From PDF view, when you choose the Print icon on the Adobe toolbar, the Print dialog box displays. The Print range setting defaults to All, and the page # total is the total number of pages for ALL report tabs.
If you do not want to print all report tabs, you have several options:
a) In the Print dialog box, in the Print Range section, change from "All" to "Pages" and specify a particular range of pages to print (you can determine which pages to include by navigating around the report using bookmarks on the left); OR
b) While on the report tab you want to print, hold the CTRL key (to bypass any popup blocker interference), choose the Document menu, choose Save report to my computer as, and choose PDF. Keep holding the CTRL key and click "Open" in the dialog box to open the one tab of data in a new Acrobat instance and print; OR
c) From PDF view, click the View in HTML format button on the toolbar, then click the View menu on the toolbar, and then choose Draft mode. Select text on the report tab by clicking CTRL+A to Select All, then click CTRL+C to copy it. You can then open a program like Word or Excel and click CTRL+V to paste the data. This option is best for sections of report tabs that are not too long.
2) To move a single saved report to a My Favorites folder, highlight it from the document list on the right, then right-click it and choose Organize>Cut, OR click the Organize icon and choose Cut. Then, highlight a “My Favorites” folder on the left, and right-click it and choose Organize>Paste, OR click the Organize icon and choose Paste. To move multiple saved reports to a folder, press the CTRL key, highlight the reports from the document list on the right, then right-click and choose Organize>Cut, OR click the Organize icon and choose Cut. Then, highlight a “My Favorites” folder/subfolder on the left, and right-click it and choose Organize>Paste, OR click the Organize icon and choose Paste.
3) If having trouble pulling a report into Excel or PDF, the browser may try to block the download due to security settings. To get around this, hold down the CTRL key during the entire save process - from before you click "Save to my computer As" until the moment it opens in the new program.
4) In the prior version folks had Personal Categories set up for saved reports. In this version, to organize saved reports in My Favorites, you can create folders in My Favorites to organize saved documents. The easiest way is to right-click the My Favorites folder and choose New, and then choose Folder.
5) Difference between Report Copy & Report Shortcut: A Copy makes a duplicate and creates a file unlinked to the original. A Shortcut is a pointer back to the original report. So, if the original report changes, a copy of it will not reflect that change, but a shortcut will. It acts like a shortcut to a program on your desktop, or a bookmark in your browser. Each has its own purpose. If you plan to rerun a published report from My Favorites, it’s preferable to save it as a Shortcut, in case enhancements are made to the original. However, if you need to save a snapshot of data as of a point in time, you should choose Save As while in the document, which will save as a Copy to My Favorites. Also, when sending a report to another user, you must send as Copy and NOT Shortcut (Copy is default value).
6) In Preferences, it is recommended to uncheck the 4 items listed in the General section for Document List Display for best viewing of report lists so it’s less cluttered and b/c these columns do not add value. If you want to view a report's description before opening it, choose the Open menu on the top toolbar and choose Encyclopedia. The report description displays in the Encyclopedia pane on the right. To remove the Encyclopedia from view, return to the Open menu and choose Close Encyclopedia. Or, right-click the report and choose Properties.
7) To expand all bookmarks on the left in a refreshed report in PDF view without opening each individually, after refreshing a report, click the first level of bookmarks. Then, hold the Shift and * (asterisk) keys at the same time. This expands the bookmarks to open all levels.
8) On the Document List page, if you cannot see the full list of reports in a particular group, such as
"6000-Buy/Pay", you may not have realized that there can be more than 1 page of reports in a grouping. If
you look at the page numbers in the upper right corner of the screen below the blue bar, you can tell if
there are multiple pages of reports and can navigate to the next set in the list. Also, if you want to see
more reports per page, go to Preferences and in the General section, enter a higher number in the box
labeled "Set the number of objects (max.) per page:". Most users set this number at about 30.
9) In XI, users with creator rights cannot edit a report directly from the published documents list as they
could in the past. If you want to edit a published report, first save it to the My Favorites folder and open it
from there. You will now see the Edit function displayed and can edit the report in the Java Panel (if a
WebI doc) or DeskI (if a DeskI doc and you have DeskI access).
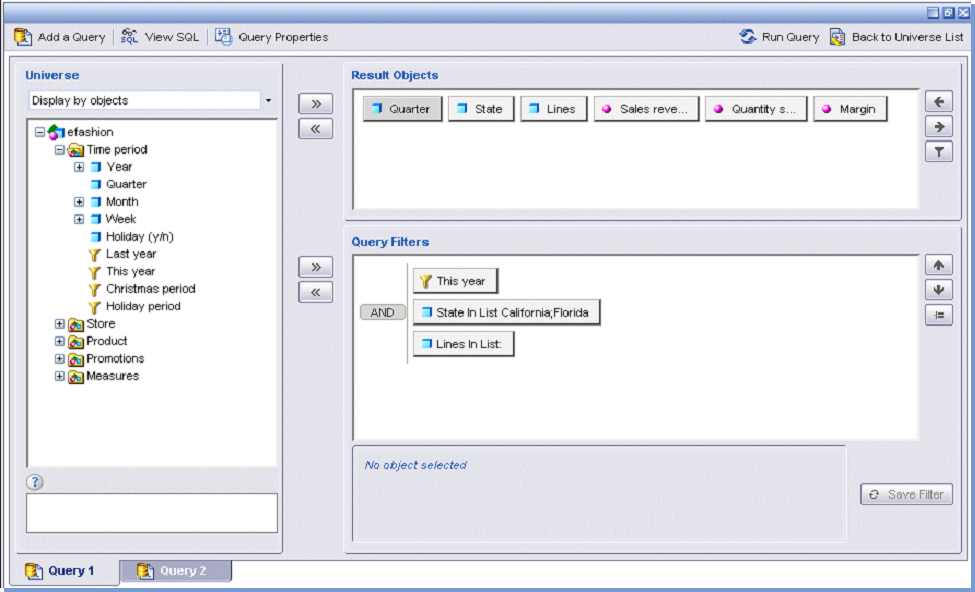
10) In the previous version of the WebI Java Panel, additional description (aka help text) was displayed
for report objects at the bottom of the Edit Query screen. In XI, if a description/help text exists for a report
object, it will display next to the object when you hover your mouse over it.
11) If you want to insert the current date & time, your username or full name, into the title of a report that
you are sending to someone else’s WebI inbox, chance the selection for “Target Name: ” from
Automatically Generated to Use Specific Name , and from the Add Placeholder drop-down, choose items to
add.

